
BRING IT ALL TOGETHER
Create your Plinger account
Connect GitHub, save your PAT, and add your payout details.
Before you start
Have your GitHub login, your copied PAT, and your bank details ready. Use the same personal GitHub account throughout these steps. You’ll sign in through GitHub, so you don’t need to create a separate Plinger password.
Screenshots show the current Plinger interface. Dashboard examples use sample data; enter your own details.
1. Install Plinger on GitHub
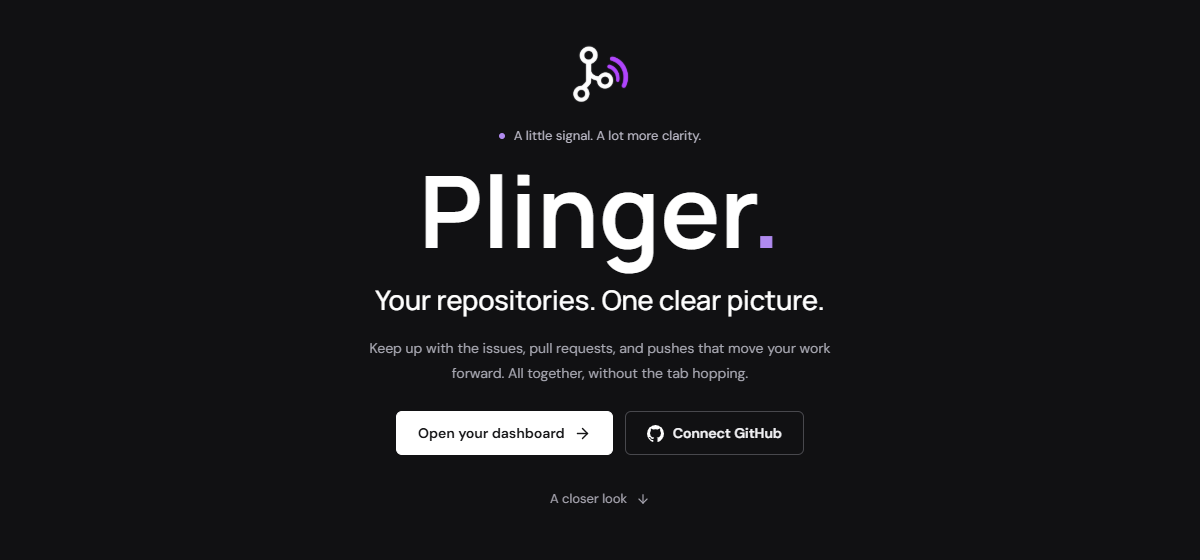
On the Plinger homepage, select Connect GitHub, or use the installation link below.
- 1
Choose your personal account
Sign in to GitHub if asked. If GitHub offers a choice of accounts, select your own username. Plinger identifies scouters through a personal App installation; an organization installation alone won’t connect your scouter account.
- 2
Review repository access
GitHub may offer All repositories or Only select repositories. Choose the repositories you want the App to access and review the permissions shown.
- 3
Finish installing
Select Install and complete GitHub’s prompts. Then return to Plinger to sign in.
GitHub’s installation screen can vary by account. See GitHub’s App installation guide.
2. Sign in to Plinger
Open Scouter sign-in and select Continue with GitHub. Use the account where you just installed Plinger, review the authorization prompt, and approve it to continue to your workspace.

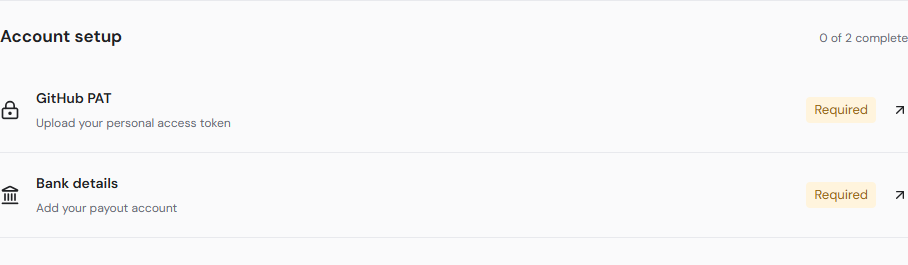
On Overview, look for Account setup. Its two items show what you still need to save: your GitHub PAT and bank details.
3. Save your GitHub PAT
Select GitHub PAT in the sidebar or the Account setup checklist. Paste the complete token you copied in the previous guide into Personal access token, then select Upload PAT.
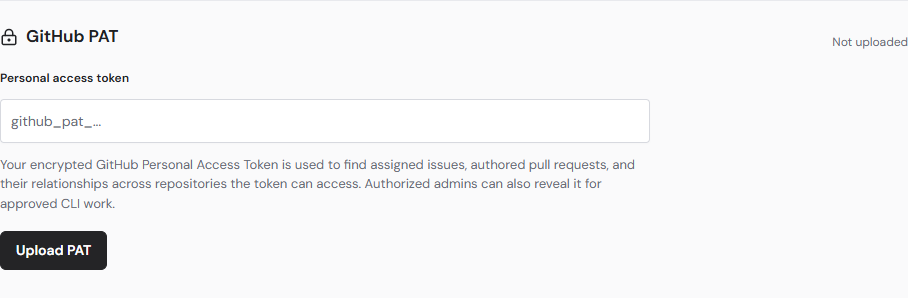
After saving, you’ll see Personal access token added. Plinger queues a sync of your assigned work, so issues may take a little time to appear. You can replace the token later with Update PAT.
The token must belong to your signed-in GitHub account. Plinger stores it encrypted, and authorized admins can retrieve it for approved CLI work.
4. Add your bank details
Select Bank details in the Overview checklist, or open Earnings and find Bank withdrawal details. Enter your bank name, the name on your account, and your account number.
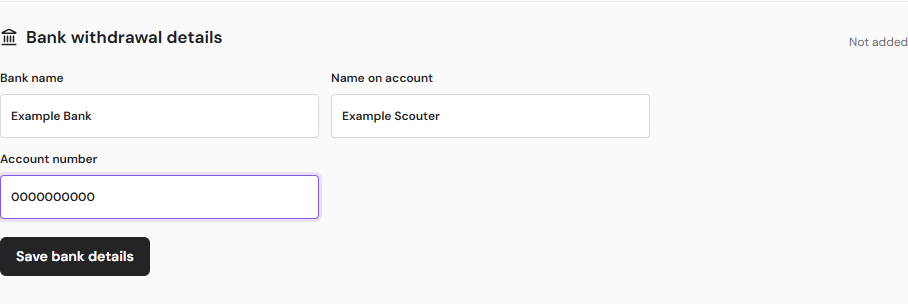
Double-check each field, then select Save bank details. Wait for the Bank details saved. message. Saving records the details you entered; it doesn’t confirm with your bank that they’re correct.
Check that you’re ready
Return to Overview. Account setup should show 2 of 2 complete, with GitHub PAT marked Uploaded and Bank details marked Added. You’re ready to use your workspace.
Plinger says I have no personal installation
Check your GitHub installations (new tab). Make sure Plinger is installed on your personal account, then sign in to Plinger with that same account.
My PAT won’t save or my work is missing
Check for missing characters or spaces in your pasted token. If work won’t sync, confirm that the token is still valid, belongs to this account, and has the permissions in the PAT guide. An empty work list may also mean nothing has been assigned yet.
My bank details won’t save
Fill in all three fields. Enter the account number as digits only, without spaces or dashes, and follow any error shown beneath the form.